High measurement quality and traceability according to ISO 17025
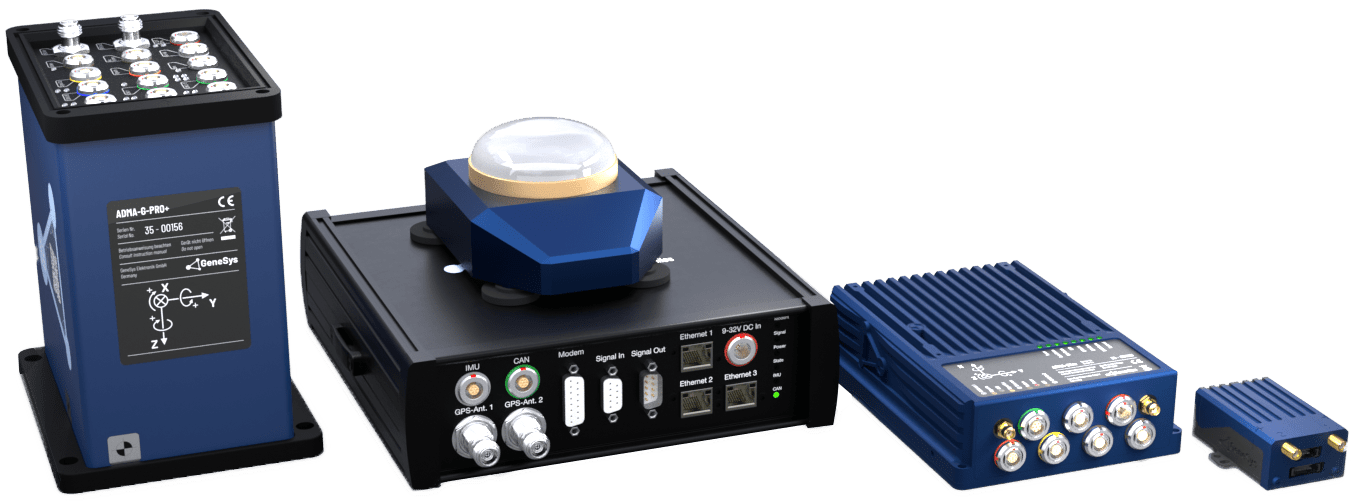
With calibration of the Inertial navigation Systems, GeneSys not only offers high-performance systems (IMU) but also helps customers make sure that this performance is maintained for many years. Regular calibration of the ADMA systems and systems of other manufacturers, traceable to national standards, ensures high measurement quality and traceability.
Why is this important?
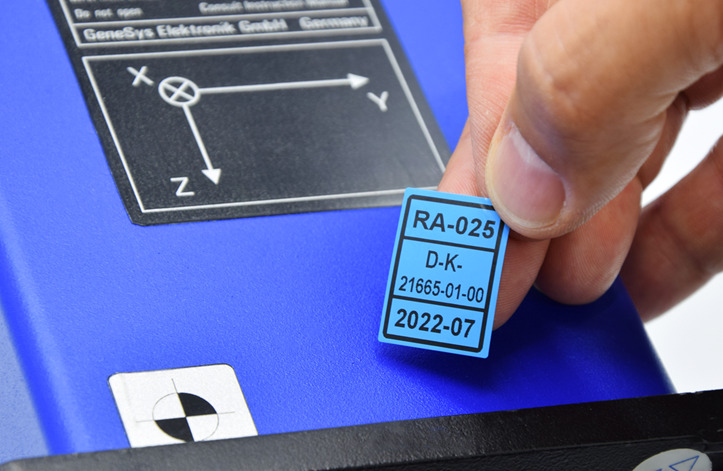
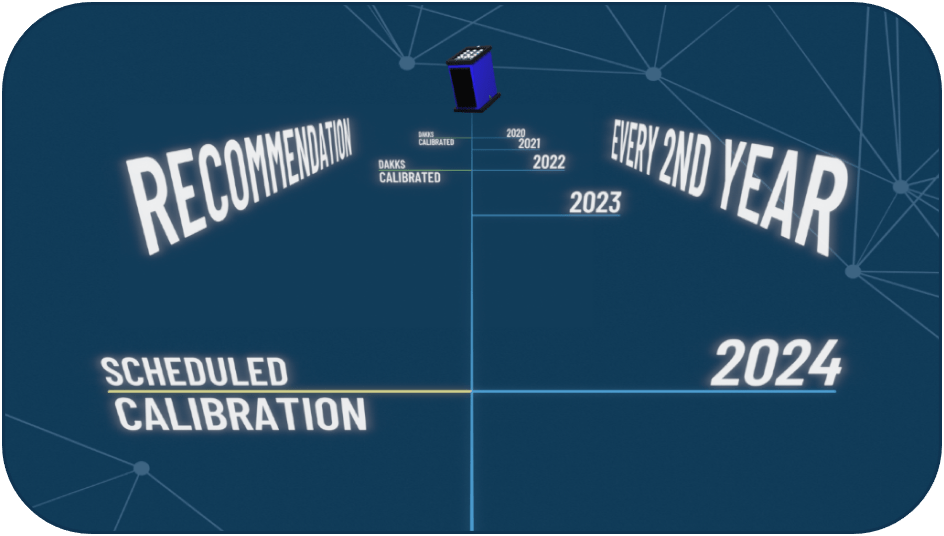
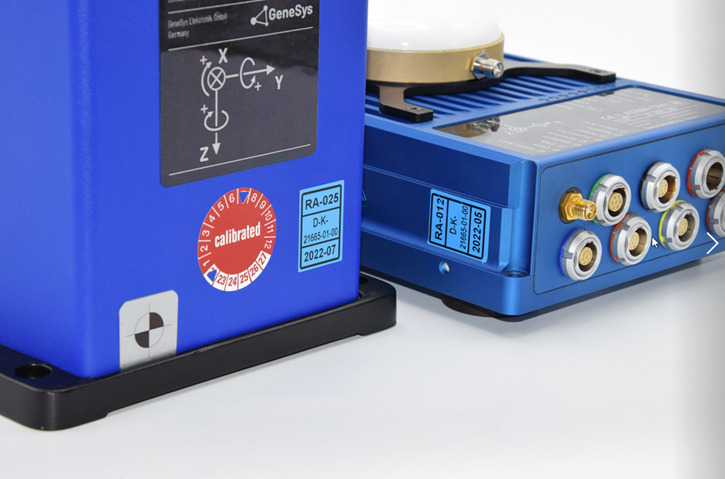
Each inertial measurement system (IMU), such as an ADMA system, is calibrated to GeneSys specifications prior to shipment. The accuracy of the inertial sensors is subject to natural variations over time. In order to maintain the intended accuracy, it is necessary to calibrate the hardware at regular intervals. Calibrating intervals are recommended at one or two years. An inspection sticker with the date of the last calibration is affixed to each device.
Scope of calibration services
The flexible services are tailored to the exact requirements of the customers. With a variety of calibration services, for ADMA systems or systems from other manufacturers, GeneSys can meet all specifications for each type of system or available budget. The GeneSys experts clarify which calibration package is best suited in direct dialog with the customer.
Wide range of services in accordance with ISO 9001 and DIN EN ISO/IEC 17025:2018
The services at GeneSys meet quality standards such as ISO 9001, DIN EN ISO/IEC 17025:2018 as well as IATF 16949. The in-house calibration laboratory is accredited by the DAkkS (German Accreditation Body) for the measured quantities angular velocity, acceleration and speed. GeneSys is thus the first DAkkS accredited calibration laboratory according to DIN ISO 17025 for the measurand velocity in the range 5m/s to 23m/s. With this assignment, the DAkkS confirms that GeneSys competently performs its work according to the requirements of internationally valid standards, legal foundations and relevant rules.
GeneSys offers different services:
For the „Turning table calibration“, the unit under test is mounted on a turntable. The angular velocity or the acceleration is calibrated by comparing it with a traceable reference standard.
You can request either a factory calibration or a calibration in the DAkkS-accredited range. Adjustments are exclusive to factory calibrations for GeneSys products. The accredited calibrations are also available for third-party systems.
With „Reference Track Calibration,“ the calibration object is permanently mounted in a vehicle. The average speed that is required to pass two reflector strips placed at a known distance on the road is measured. The speed is controlled to the prescribed target speed on a run-up distance.
Calibration processes for the ADMA and systems from other manufacturers consistently incorporate an inspection of incoming goods to verify the fundamental functions of the platform, interfaces, and sensors. The GeneSys experts also always carry out a temperature test and a final vehicle dynamics check.
Reasons for calibrating the inertial measurement systems
Compliance with standards
From general quality management systems, such as ISO 9001, to requirements that are specifically geared to test and measurement equipment, such as DIN EN ISO/IEC 17025:2018, there are a number of standards that recommend when calibration is required. By regularly calibrating equipment, the customer ensures that he complies with the applicable measurement standards.
Traceability
Calibration guarantees complete traceability of the measuring equipment. It also ensures that the accuracy of the previously measured data is consistent with future measurements. Failure to perform regular calibration of the measuring equipment can, in the worst case, result in the invalidation of all measurements.
Outage times are expensive
To eliminate the possibility that the measurement data of tests carried out cannot be used by the customer, all measuring equipment should be calibrated at close intervals of one to two years. Calibration is an important part of measurement hardware maintenance. Regular calibration not only saves time and money but also ensures that the customer can meet all project requirements.
