Set up reference points
If the total station must be moved because not all the targets (reflective stickers) are in sight of the desired measurement location, it is necessary for the total station to determine the new location within the vicinity of the first measurement. Otherwise, the second measurement will have no relation to the first. Two reference markers can be used to achieve this. They can be set up for one measurement session only, or they can be permanently fixed for future measurements.
Note: For a permanent installation of reference markers, we suggest placing them in high spots that are visible from all over the place.
Before starting any new job, make sure to measure the reference markers first. This will allow you to move the total station and re-reference the system as needed.
Measurement run
1) Stick the markers to the defined locations at the vehicle:
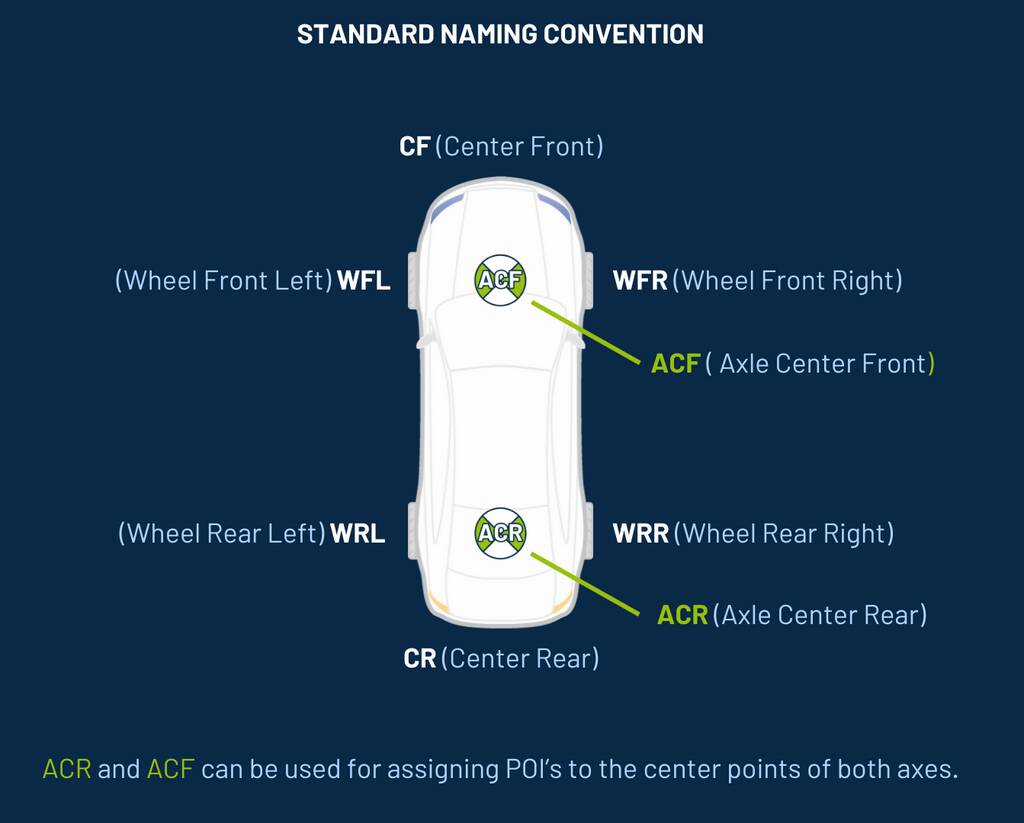
Note: If you use the recommended naming convention, the ADMA Offset Calculator will detect these measurement points automatically in the exported CSV later on.
2) Set up the tripod in a place from which all reference markers and as many markers as possible.
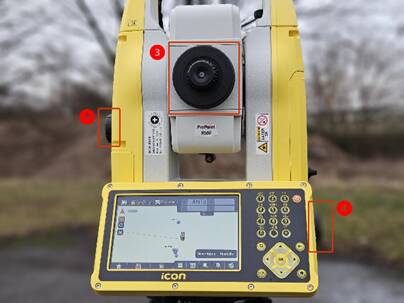
3) Screw on and start the total station by holding the power button.
4) Select / Create Project
5) Create a new Job
6) Open “Messen”
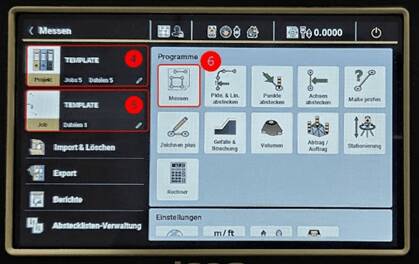
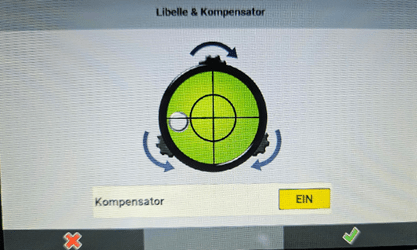
7) Level the total station. Make sure that all three adjusting screws point in the direction of the three tripod feet so that the leveling works correctly with the turning instructions in the software.
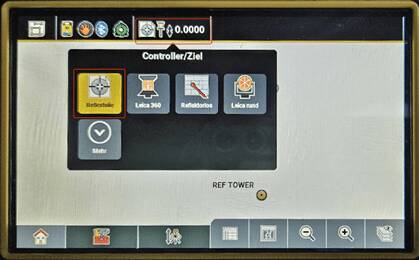
8) Make sure, that “Reflektorfolie” is selected as measuring object and an height offset of 0.0000 is set.
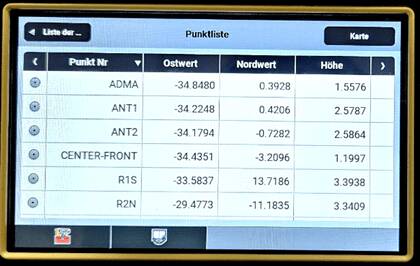
9) Measure two reference points you have set up (if not set up yet, refer to Set up reference points).
10) Measure all markers you’ve put on the vehicle
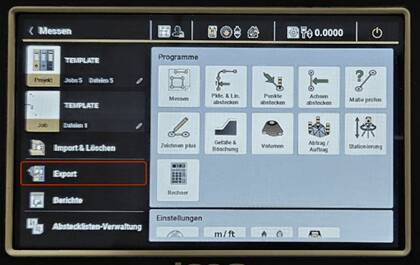
11) If you can measure all desired points with one measurement, you can finish by exporting the offsets as csv on a connected USB Flash drive. If some points where out of sight, continue with Stationization after changing the tripod location.
Stationization after changing the tripod location
After the tripod changed the location for getting other measurement points into sight, the system needs to know where it’s installed in relation to the previous measurements. For this, two reference points are used.
1) Open “Stationierung”
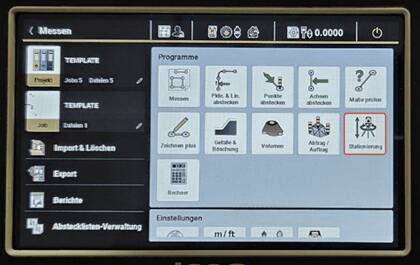
2) Choose “Freie Station”
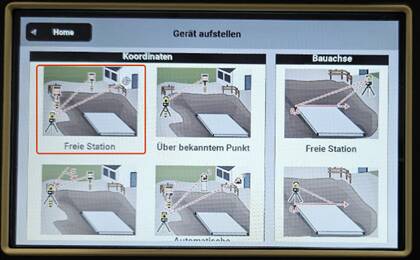
3) Level the total station.

4) Choose the reference point you want to measure first by clicking it on the map.
After that, target the reference point with the laser and measure.
When both reference points have been measured correctly, you can confirm the Stationization at the bottom side of the screen.
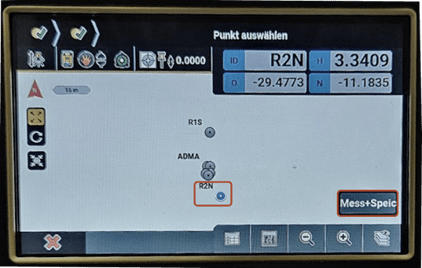
5) Now you can measure the desired points at the vehicle.
6) After that finish by exporting the offsets as csv on a connected USB Flash drive.
How to measure quickly and accurately
In measure mode, we recommend following the procedure below for measuring quickly and accurately.
1) Name the next measured point with a clear label (e.g. CR for Center Rear or CF for Center Front).
2) Take the Quickscope mounted above the targeting unit and try to target the desired reflection sticker roughly.
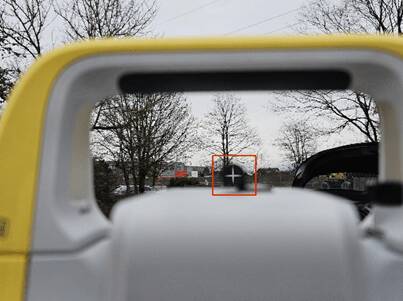
3) Focus the object.
4) Aim the mid of the reflection sticker with the target cross.
5) Finish measuring one marker by click “Mess+Speich”.
