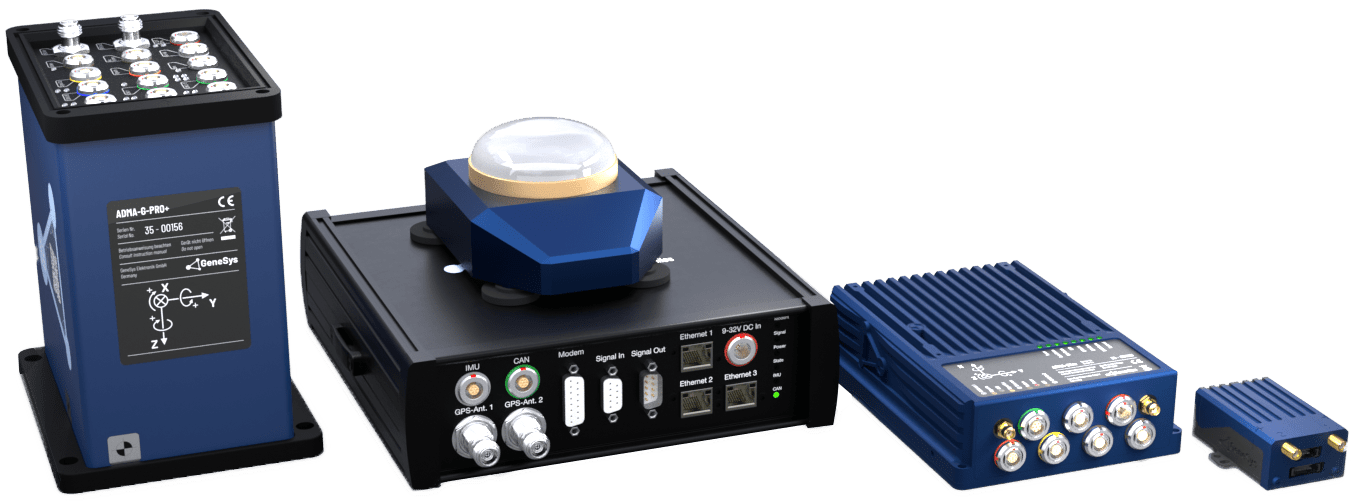
The Webinterface is integrated in the ADMA. For access, the following settings of the network connection must be done:
1 Open Network Connections by clicking the Start button . Then click Control Panel. Open Network and Sharing Center click View network connections.
2 Right-click the connection that you want to change, then click Properties . If you’re asked for an administrator password or confirmation, enter the password or provide the required confirmation.
3 Click the Networking tab. Under This connection uses the following items, choose Internet Protocol Version 4 (TCP/IPv4), then choose Properties.
4 To specify an IP address, click Use the following IP address, and then, in the IP address, Subnet mask, and type in the following IP address settings:
| IP-Address: | 192.168.88.xxx |
| Subnet mask: | 255.255.255.0 |

- To check your settings, please start the internet browser of your computer. Type in http://192.168.88.30 in the address bar of your browser, the ADMA Webinterface should appear.
NOTE: Your Proxy settings must be deactivated!


