
Needed tools
• Computer with a serial interface or a USB to RS232 adapter
• ADMA Power cable
• ADMA Ethernet cable
• ADMA AUX or ADMA GNSS CFG cable
Wiring

Webinterface settings to adapt
Menu 8️⃣ – LOAD/SAVE/START
1. Save current configuration to file
2. Set default settings

Menu 5️⃣ – AUX SYSTEMS
DGNSS Preset: User defined
Baud rate: 9600 oder 19200
Source: Modem Port

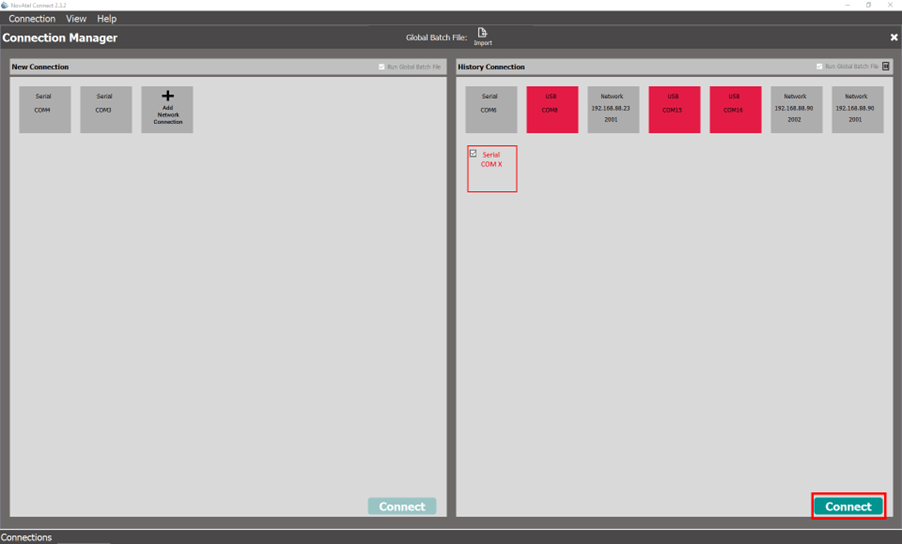
Open Novatel Connect and connect to the COM Port the ADMA is connected to:
Execute the following commands:

log validmodels➡️ The currently installed auth codes and license codes are listed
Choose the needed model and copy it to the next command:
model D1SB0GTTN (Just an example, please chose your needed model)After power reset of the ADMA, the chosen model should be shown in the ADMA web interface at “System” (GNSS-Information).
