GeneSys not only offers high-performance inertial systems (IMU) but also helps customers make sure that this performance is maintained for many years. Regular calibration of the ADMA systems ensures high measurement quality and traceability.
Why is calibration important?
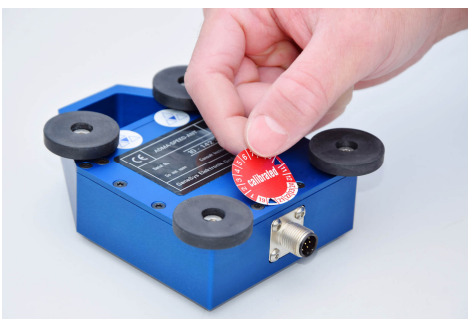
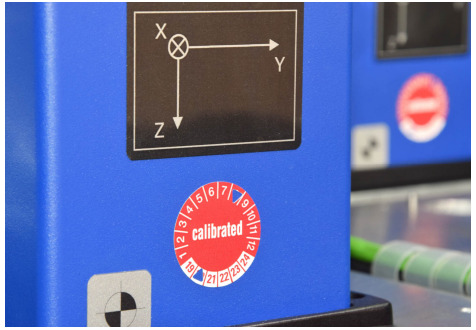
Each ADMA system is calibrated to GeneSys specifications prior to shipment, but the accuracy of the inertial sensors is subject to natural variations over time. In order to maintain the intended accuracy, it is necessary to calibrate the hardware at regular intervals. The recommended calibration intervals are one or two years. Each device is provided with an inspection sticker that indicates when the next calibration must be performed.

Scope of calibration services
The flexible services are tailored exactly to customer requirements. Various calibration services enable GeneSys to meet all the requirements of the individual system types or the available budget. The GeneSys experts clarify which calibration package is the most suitable in direct dialogs with the customer.
Wide range of services in accordance with ISO 9001
All calibration services at GeneSys comply with the ISO 9001 quality standard. In addition, calibration always includes an incoming goods inspection to ensure the basic functions of the platform, interfaces, and sensors. The GeneSys experts also always carry out a temperature test and a final vehicle dynamics check.
The most common calibration service is the “ADMA Calibration Turntable” service. This includes the exact calibration results before “as found” and after adjustment “as left.”

Reasons for calibrating the ADMA Compliance with standards
From general quality management systems such as ISO 9001 to requirements that are specifically geared to test and measurement
equipment, there are a number of standards that prescribe when calibration is required. A customer with regularly calibrated equipment ensures compliance with the applicable measurement standards. The inspection sticker on the ADMA indicates when the next calibration must be performed.
Traceability
Calibration guarantees complete traceability of the measuring equipment. It also ensures that the accuracy of the previously measured data is consistent with future measurements. Failure to perform regular calibration of the measuring equipment can, in the worst case, result in the invalidation of all measurements.
Outage times are expensive
To eliminate the possibility that the measurement data of tests carried out cannot be used by the customer, all measuring equipment should be calibrated at close intervals of one to two years. Calibration is an important part of measurement hardware maintenance. Regular calibration not only saves time and money but also makes sure that the Customers can meet all project requirements.


