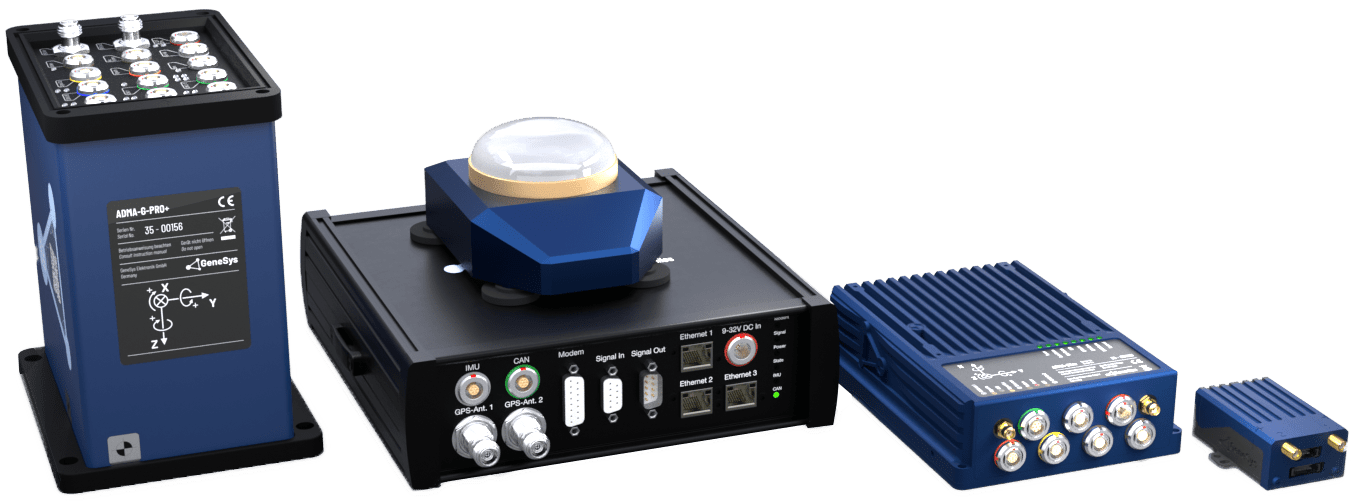
This article describes the integration of the ADMA into CANape 23.
Note: For other CANape versions, separate installers are available.
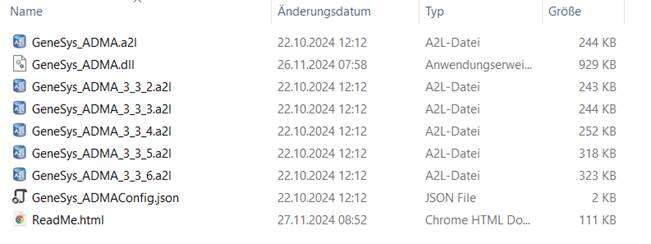
The following data format versions are integrated in CANape:
Measurement Setup with CANape 23
ADMA Settings
Open your browser, call the ADMA Webinterface (Default: 192.168.88.30) and enable the Ethernet data output and configure the following parameters:
| Parameter | Value |
|---|---|
| Destination IP | 255.255.255.255 (Broadcast) or the IP-Address of your Data Acquisition System (Dedicated) |
| Destination Port | 1021 |


Hardware Setup
The following illustration will give you an overview on how to setup your hardware to perform a measurement with CANape.

Please attach the Ethernet cable to one of the ports of the VN5640 or any other Vector Ethernet Interface.

CANape Setup
Installation of the Driver
To install the plugin with the help of a graphical setup wizard, simply double-click the setup routine (e. g. Vector_CANape_22_GeneSys_ADMA_3.3.x_Setup_22.0.20.0.exe) and follow the instructions.
The naming convention for the setup files look like follows:
Vector_CANape_{canape version}_GeneSys_ADMA_{firmware version}_Setup_{plugin version}.exe
The files will be installed in the following directory with the following structure:
$CANape_DIR/Exec64/Plugins/ProtocolDecoder/GeneSys/

Handling the Devices
This section will describe the setup of the ADMA Unit in CANape.
First, open the Vector Hardware Manager, switch to configuration view (1), and the Ethernet device configuration (2), add a network (3) (named Ethernet1 in the picture (4)), a link to an Ethernet port on your VNxxxx (5) and deploy it (6):

In this example the ADMA is connected to ETH13 on the VN5640. We set this channel to CANape Ethernet 1. Please start CANape and create a new device from the section “ADAS ➡️ GeneSys ADMA”:

In the next step you will have to add the Ethernet network you created before:


Please note the tooltip and name your network as in the Vector hardware configuration:

Make sure the segment and the device correspond to your hardware setup. Please enter the correct settings in the next step. Find an explanation below the illustration.

| Parameter | Description |
|---|---|
| Protocol | UDP (ADMA sends UDP only) |
| Source IP | IP-Address of the ADMA Ethernet 1 Interface (Default: 192.168.88.30) |
| Source Port | Destination Port of the ADMA setup |
| Destination IP | Destination IP of the ADMA setup |
| Destination Port | Destination Port of the ADMA setup |
Please make sure that this filter is set up correctly, otherwise you will not receive any data.
Configuration Recording
This feature is available for ADMA data format version 3.3.3 and higher.
In the ADMAnet data stream the GSCI configuration is transmitted piecewise in the dynamic header. The Decoder Plugin can record this configuration and then save it in the CANape project directory as a GSCI file.
To activate this behavior, only the Configuration_Write_Status signal must be measured in the CANape project. To do this, add the signal to the measurement configuration.

With starting the measurement, the ADMA configuration file will now be recorded.

As soon as the configuration has been completely transferred, this is saved in the file „ADMAnet_Configuration.gsci“ in the CANape project folder.

Support
If you have any questions about the GeneSys ADMA Protocol Decoder or any topics concerning Vector products, please contact the Vector Support team.
| support (at) vector.com | |
| Customer Portal | https://support.vector.com |


